When I couldn’t get my hands on a NES/SNES Classic, I listened to the voices on the Internet saying I should just build my own retro gaming console using a Raspberry Pi. Was it as glorious as they said it’d be?
I built a Raspberry Pi retro gaming console and it wasn’t quite as promised… or, how to spend $108 to save $100.
1 | My frustrating quest for the NES Classic
The original Nintendo came out when I was a kid and, like literally every other kid on the planet, I became droolingly obsessed with the thing. And while I’ve played video games on all sorts of systems in the decades since, those original Nintendo games still hold a dear place in my heart. So when, in late 2016, Nintendo released its throwback NES Classic Edition, I was all about it.
Unfortunately, so was everyone else. They were extraordinarily difficult to get. Bots or exceedingly lucky humans would snatch them up the second they hit an online retailer, and people camped out to get them from the handful of stores that sold them. The secondary market on eBay and Craigslist seized on the textbook supply-demand gap and sold them for at least two to three times the retail price. I decided I wasn’t going to pay for a scalped unit as a matter of principle. Instead, I was determined to find a way to buy one without camping out. I learned about websites that track the inventory at Target and Walmart and, on one occasion, I even found myself driving to a Target nearby at 10:30 P.M. to try to grab an NES Classic. I didn’t get one; they wouldn’t release them until the morning. They invited me to camp out outside with the others. I couldn’t and wouldn’t do that. I also gave up.
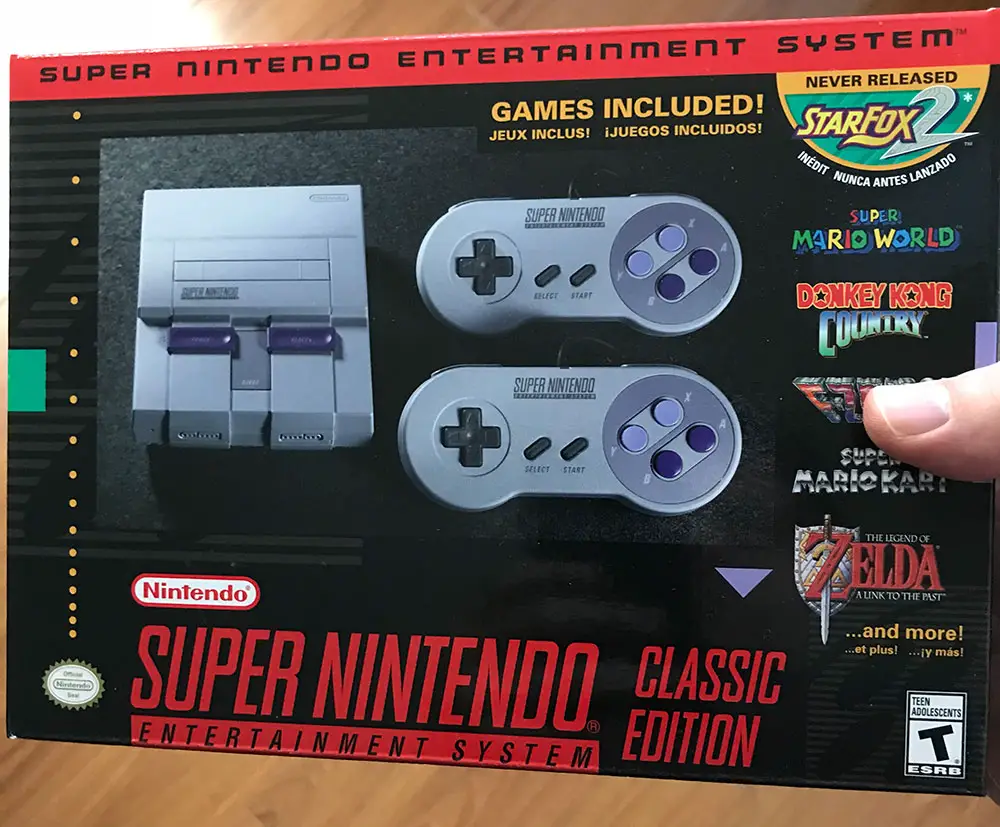
So last winter, when the Nintendo released the SNES Classic and I found myself in the same Sisyphisean predicament, I bailed.
2 | The alternative choice: A Raspberry Pi console
Every article about the NES or SNES Classic shortages always drew the same response from at least one dude in the comments: Just build your own.
For those unfamiliar, the Raspberry Pi is a tiny, inexpensive, versatile computer. It’s specifically designed for small projects that would benefit from a computer but don’t need a “real” one. That includes things like media centers, print servers, and, yes, retro gaming consoles. In fact, I’d guess the most popular use of the Raspberry Pi is to build a retro gaming console.
I decided to do it. After all, every one of those comments sections promised me it would cost me a fraction of the price of Nintendo’s retro machines, would take mere minutes and would make all of my retro gaming wishes come true. Plus it would be even MORE robust: I could pick the controller … load it up with every system from Atari to ZX, Spectrum … and every game.
Did it fulfill those promises? Here’s my experience…
3 | It’s not quite as cheap as the hype would suggest
My goal was to recreate the equivalent of the NES Classic. Retail price: $70. Secondary market price: ~$200.
The good news: The software to emulate classic video game systems is robust and totally free!
The bad news: Nothing else is.
Here’s my final cost breakdown for the Raspberry Pi project…
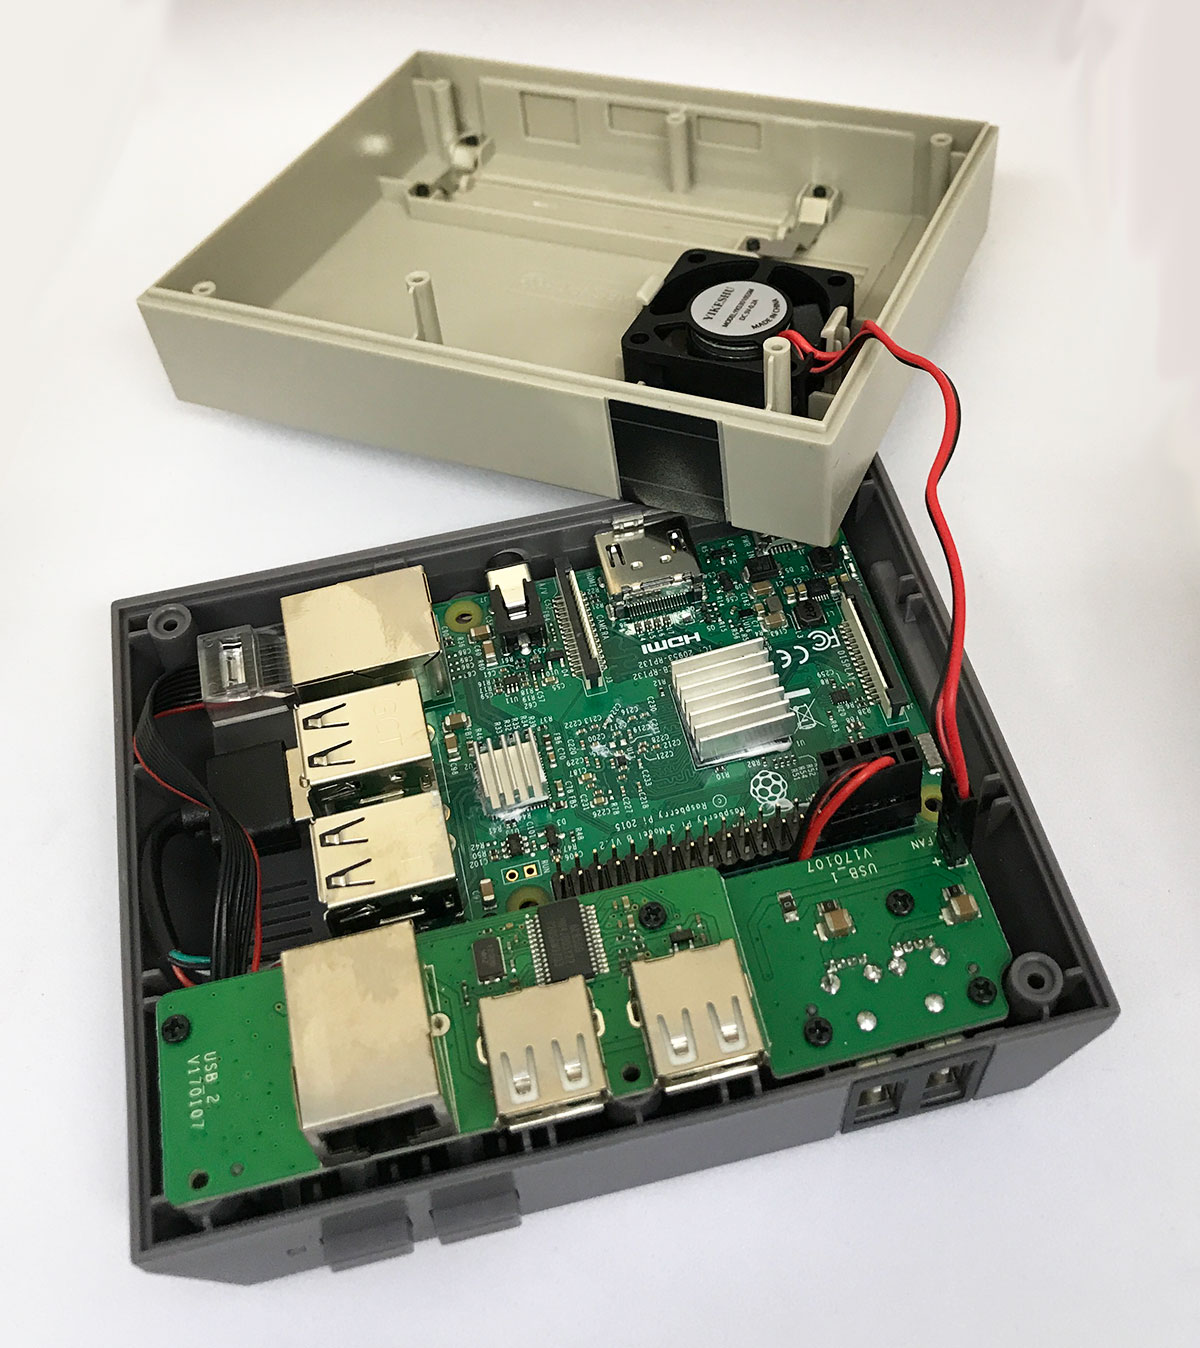
- Raspberry Pi 3 Starter Kit (with Raspberry Pi 3, Model B Case, Heatsink and Power Supply) – $48
- Classic USB Gamepad – $16
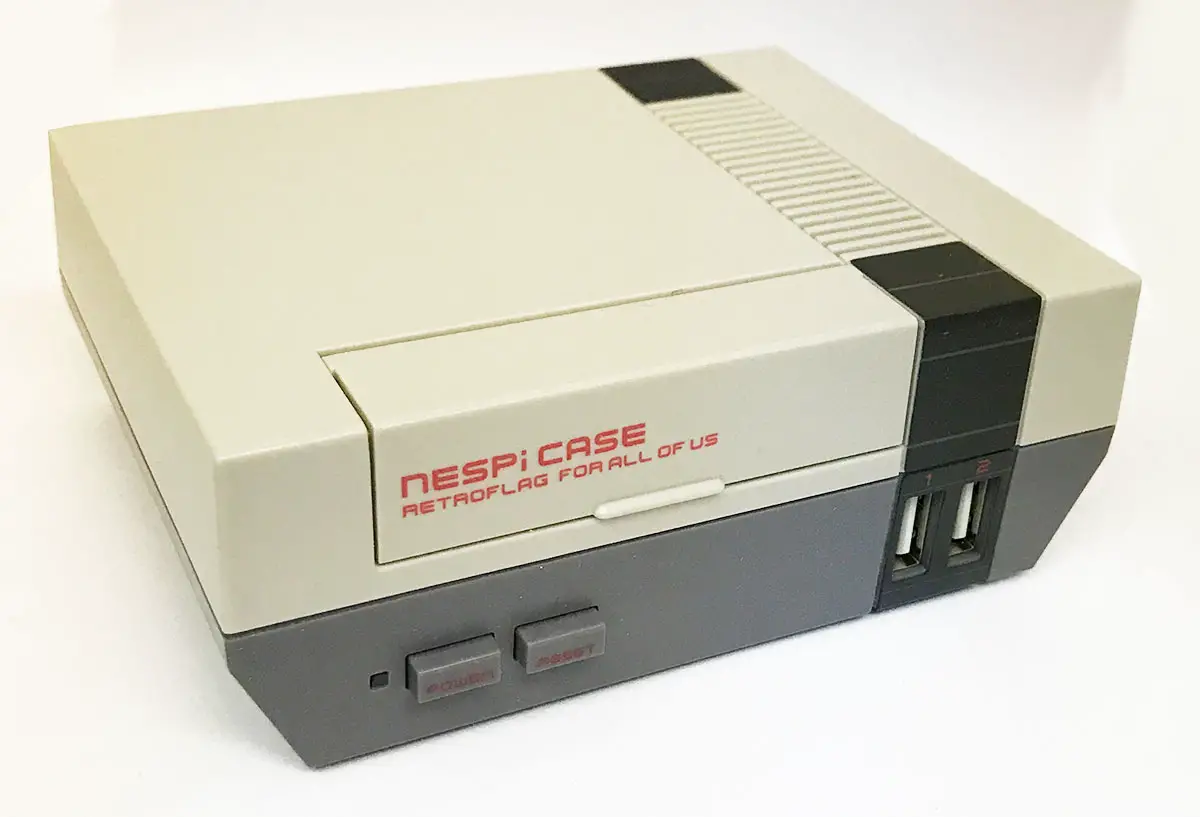
- NESPI CASE with cooling fan – $30
- AmazonBasics High-Speed HDMI Cable, 6 Feet, 1-Pack – $7
- AmazonBasics USB 3.0 Extension Cable – A-Male to A-Female – 9.8 Feet (3.0 Meters) – $6.50
Total: $108
So… yeah.
4 | And your costs might be higher
My price isn’t counting the cost of a tiny SD card (if you don’t have one) for transferring games. Or a USB keyboard, which is required for the initial setup. I happened to have both lying around.
Sure, my $108 price tag is perhaps a touch higher than necessary. I mean, if you don’t want the case that makes it look like a Nintendo, you can save $30. But in that scenario, you’ll want to get some kind of usb power cord for the Raspberry Pi with an on/off switch built in because, it turns out, the Raspberry Pi doesn’t have an off switch. The only way to turn it off is to unplug it. Which brings me to the next point…
5 | Expect surprises along the way
I had no idea the Raspberry Pi was just “always on” until I realized I couldn’t turn it off, and I’d have to fish around the back of my media center to try to unplug it after every use. I also had no idea it ran so hot; it was fortuitous that the case I bought came with a cooling fan, but even with that fan, it still regularly overheated after a relatively short amount of playing. It got so hot it melted the glue that came with it to attach the heatsink.
6 | In other words, it’s not exactly plug-and-play
It’s more like plug-and-adapt-and-adapt-and-adapt-and-adapt-and-play. It doesn’t ever quite fade into the background and just let you play your game like well-engineered game consoles do; the Raspberry Pi is always kind of “there.” And you never forget it’s a computer — when you start it up and shut it down, a bunch of code cycles across the screen, like that movie about the net with the girl from The Bus.
7 | It’s not for beginners (or, how I learned the nuances of British keyboards)
I’m not an electrical engineer by any means, nor a hardware guru, but I know my way around a computer a little bit. And it’s a good thing too, because something about my physical appearance gives off that vibe hard. I literally have strangers approach me at restaurants and the gym to ask me to help fix their phones or laptops. And then I actually can, and do. (Spoiler: The phrase, “Did you try powering it down and then restarting” comes up about 98 percent of the time.)
I ran into several little technical problems throughout the course of setting up my Raspberry Pi. The most obnoxious of which was, of all things, entering my wifi password. I’d enter it over and over, and it wouldn’t work. After some research, I learned it’s because the Raspberry Pi’s video game emulation software is British and their keyboards have a slightly different layout. On a British keyboard, shift+3 gives you the pound sign as in currency, not number/hashtag/tic-tac-toe. So I had to reconfigure the preferences in the software to accept the American keyboard layout. For whatever reason, that still didn’t work. So I had to figure out how to type the password in British. (And a lot of it was blind guessing, because the password was asterisked out on screen and that couldn’t be changed.) Eventually I got it.
That doesn’t sound like much — and hey, I guess now I can put on my resume that I speak a foreign language, “British” — but it’s emblematic of the little things that can come up. And sure, those happen with any hardware project, but it illustrates that this wasn’t just “take product out of box, plug in, play games.”
8 | The legal gray area of games
The legality and ethics of getting games onto the Raspberry Pi or any other homemade retro gaming system have been debated thoroughly elsewhere on the Internet. (Spoiler alert: The people who discuss that kind of stuff on the Internet shockingly did NOT come out on the side of respecting intellectual property laws.) Suffice to say, though, it’s another looming problem with building Raspberry Pi gaming console.
I went for the compromise that worked for my ethical compass although, I believe, is a solution that is still technically not considered kosher by the powers-that-be. I only put games on my machine if I also once owned the physical copy. So glad I once got duped into buying Anticipation for my NES. Can’t wait to play that again.
9 | But does it work?
The first game I wanted to play was Dragon Warrior, a game that my dad and I beat together when I was a kid. So I fired up the RetroPie software, it downloaded the cover art and meta information for all of my games and then I sat down to play.
But wait. The software got confused and downloaded the same art for Dragon Warrior and Dragon Warrior 2: Dragon Warrior Goes to Summer Camp. And since the software overwrote the meta information, the listings for both games as identical. So I had to figure out which was which, plug the keyboard back in, manually edit them and then get down to business.
I share that anecdote because it continues the pattern. There was no step of the process that was simple or, at least, seamless. If I’d bought an NES Classic, I would’ve plugged it into my TV and been playing a game in 30 seconds. At this point I was a few days and several hours into the project and I still hadn’t played a minute of video games.
10 | Success!
But hey! After all that, I did get the game to work. And I wouldn’t have been able to play Dragon Warrior on the NES Classic, since it wasn’t one of the games they included in the system. (I once wrote about the games egregiously excluded from the NES Classic, and Dragon Warrior was certainly not the only one unfairly exiled.) Well, I wouldn’t have been able to play it out of the box. Hackers quickly figured out how to get additional games onto the NES Classic but that, like the Raspberry Pi retro console process, is elementary but still a “thing.”
I played through the game over the course of the next few weeks as I unwound at night, an hour here, and hour there. The system worked great. Although this doesn’t necessarily sound like a compliment, the Raspberry Pi and RetroPie software worked just like a regular Nintendo. That was all I wanted. And I got it. Finally.
11 | So… should you build a Raspberry Pi retro gaming console?
I wish I had a different answer… but no. Unless you really want to mess around with the Raspberry Pi and see what it can do, there’s absolutely no need. Spend the few extra dollars to buy the NES Classic or SNES Classic on eBay. The SNES Classics are now down to like $100, which is only a few bucks more than their retail price plus sales tax. And if those systems don’t have a game you want, there’s a ton of documentation online of how to hack your system with other games (and even other system emulators).
In other words, anything you can get on the Raspberry Pi, you can get on the S/NES Classic — but with an even nicer interface and slicker hardware. The hacking project to add games to those systems should be right around the same difficulty level as setting up a Raspberry Pi, which is to say, not difficult at all if you’re great with computers and perhaps a little complicated but still doable if you’re not.
But I built the Raspberry Pi system, and I’m glad I have it. I still play it from time to time.
Even though, on the day I finished it, I got an alert in my email that the SNES Classic was in stock at Gamestop.com.
Life lessons.